Start with the scraps you already have
Before cutting, inspect every board for nails, cracks, rot and unknown finishes. Avoid painted or treated wood of uncertain origin, especially for food-contact and garden projects. Wear eye protection, secure your work with clamps and follow your tool's safety instructions.
Basic kit: Tape measure, square, pencil, clamps, suitable saw, drill, sandpaper, wood glue and the appropriate fasteners. Choose a finish based on whether the item will live indoors, outdoors or near moisture.
Simple Plant Stand
Cut equal-length legs, attach rails squarely between them, then fasten the top from below.
What you'll need: Short straight boards for legs, cross rails, and a stable top.
Weekend tip: Set the stand on a level floor and check for rocking before placing a plant.
Wooden Coasters
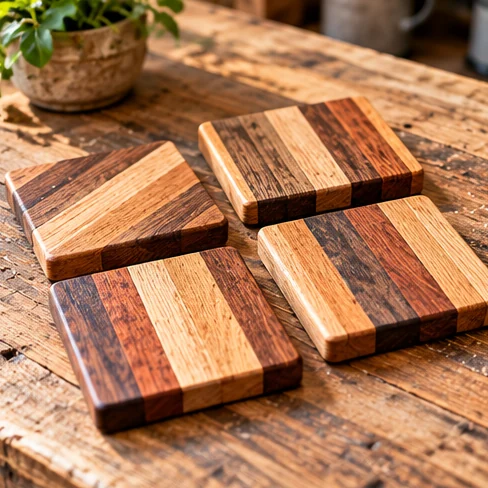
Cut four matching squares; sand the faces and ease the corners. Apply a moisture-resistant finish following its directions and let it cure fully.
What you'll need: Four dry hardwood squares, sandpaper, finish, optional felt pads.
Weekend tip: Bundle sets of four and add felt pads to the underside.
Wall-Mounted Key Rack
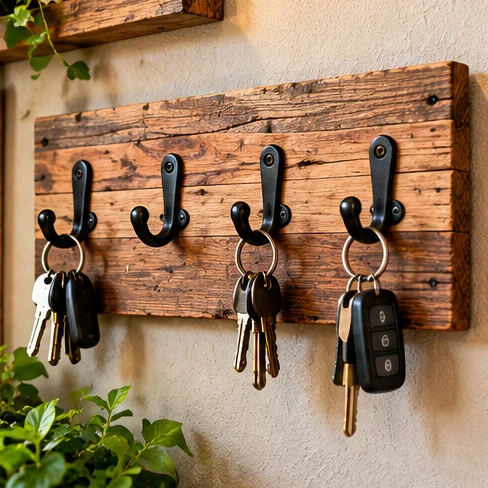
Sand and finish the board. Mark evenly spaced hook positions, drill pilot holes, and attach the hooks. Mount into suitable framing or rated anchors.
What you'll need: A clean narrow board, three to five hooks, screws and wall anchors.
Weekend tip: Use a level and leave room below each hook for keys.
Mini Picture Ledge
Dry-fit the three strips into a shallow channel; glue, clamp, and reinforce as appropriate. Attach to the wall using suitable hardware.
What you'll need: One back strip, one shelf strip, and a narrow front lip.
Weekend tip: Display lightweight framed photos rather than heavy items.
Desk Phone Stand
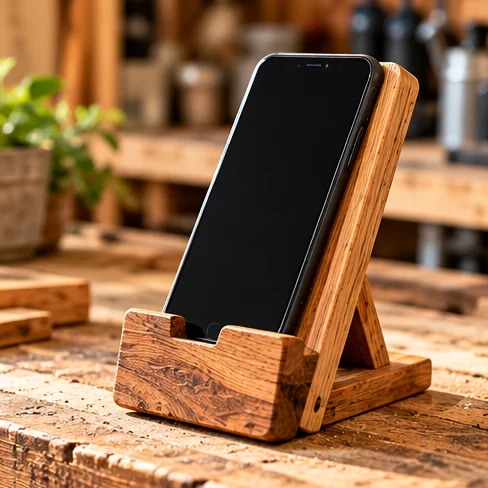
Cut and sand a stable base, then join a backrest at a comfortable viewing angle. Leave room for the charging cable.
What you'll need: A thick stable base and angled back support.
Weekend tip: Test with your actual phone before applying finish.
Garden Plant Markers
Cut matching stakes, taper the ends, smooth all edges, then label each with a plant name.
What you'll need: Thin untreated offcuts and exterior paint or marker.
Weekend tip: Use outdoor-rated lettering so labels survive watering.
Small Candle Tray
Trim the board, sand thoroughly, and finish for decorative use.
What you'll need: A flat decorative board and optional shallow edging.
Weekend tip: Use only with LED candles or enclosed vessels; keep flame and heat away from wood.
Bookends
Join each upright to a wide base in an L shape. Check the angle, reinforce the joint, and finish.
What you'll need: Two pairs of sturdy boards and wood screws.
Weekend tip: Make the base long enough to prevent tipping.
Rustic Photo Holder
Smooth the block and create a shallow narrow slot across its top using an appropriate safe jig.
What you'll need: A solid block of dry wood.
Weekend tip: Keep the slot shallow to avoid splitting the block.
Drawer Dividers
Measure the drawer interior. Cut strips to length and make an interlocking grid or individual compartments.
What you'll need: Thin straight wood strips.
Weekend tip: Allow clearance so drawers slide freely.
Birdhouse
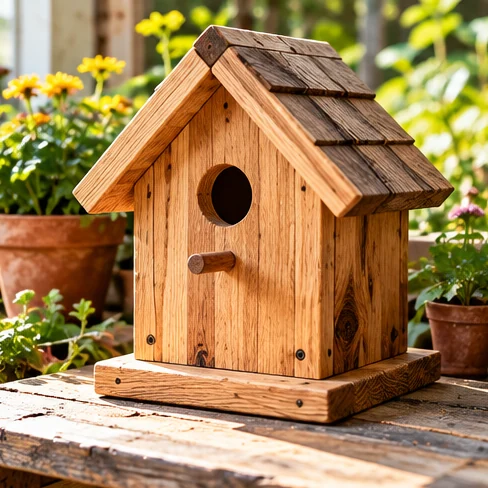
Choose a local cavity-nesting bird and follow a reputable species-specific plan for hole size, drainage, ventilation and cleaning access.
What you'll need: Untreated exterior wood and species-specific hardware.
Weekend tip: Skip decorative perches and pressure-treated lumber.
Wooden Napkin Holder
Cut matching end panels, smooth their edges and secure them to the base.
What you'll need: One base and two matching end panels.
Weekend tip: Choose a stable width for the napkins you use.
Small Wall Shelf
Cut and finish a board; locate appropriate wall framing; mount brackets level and fasten the shelf.
What you'll need: Shelf board, suitable brackets and wall fasteners.
Weekend tip: Respect the bracket and anchor load ratings.
Tool Caddy
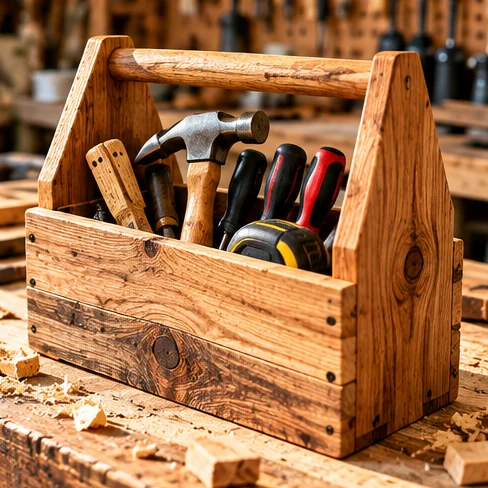
Assemble a rectangular tray with predrilled screws. Install a smooth handle securely through the end panels.
What you'll need: Bottom board, side panels, end pieces and a handle.
Weekend tip: Load it lightly at first and test the handle before carrying tools.
Seed Packet Organizer
Make a low box with slots for seed envelopes; label each compartment by plant type.
What you'll need: Small board strips and shallow dividers.
Weekend tip: Keep it indoors in a dry place.
Wooden Serving Display
Cut and sand a display board and apply a finish suitable for its intended use.
What you'll need: New, identifiable wood appropriate for food-contact use.
Weekend tip: Avoid unknown reclaimed wood for any food-contact surface.
Scrap Wood Mosaic Art
Lay out a geometric pattern before gluing the blocks to a stable backing. Let cure and add hanging hardware.
What you'll need: Assorted small blocks, backing panel and wood glue.
Weekend tip: Plan for the finished weight when hanging.
Simple Shoe Rack
Cut the slats to match, space evenly, predrill and secure them to sturdy side supports.
What you'll need: Two supports and several equal-length slats.
Weekend tip: Check the rack for tipping before use.
Headphone Stand
Join the upright to the base and attach a gently curved or padded support for the headband.
What you'll need: A wide base, upright and rounded top cradle.
Weekend tip: Round every contact edge to protect headphones.
Outdoor Herb Box
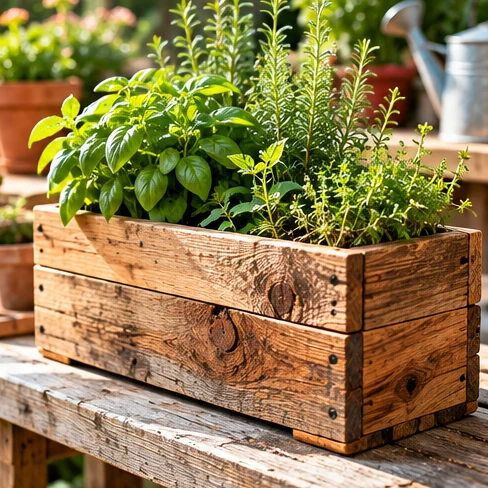
Assemble a shallow planter box with drainage holes and raise it off the ground. Use a suitable liner if needed.
What you'll need: Untreated rot-resistant boards, exterior screws and potting soil.
Weekend tip: Do not trap water against the bottom boards.
Holiday Ornament Set
Trace simple shapes, cut them with appropriate tools, sand, drill hanging holes and decorate.
What you'll need: Thin dry offcuts, drill, string and decorations.
Weekend tip: Keep small parts and sharp tools away from young children.
Common questions
Which projects are easiest for beginners?
Coasters, garden markers and simple photo holders are good places to practice accurate cuts and sanding.
Can I sell scrap wood projects?
Possibly. Test local demand and price each item to cover supplies, labor, market fees and packaging. Avoid promising that any project will be profitable.
Are these complete construction plans?
No. These are project ideas and general build overviews. Verify dimensions, load-bearing connections and tool procedures with reliable instructions before starting.
All six project images are AI-generated illustrations, not photographs of tested builds. Visual details may not be structurally accurate.