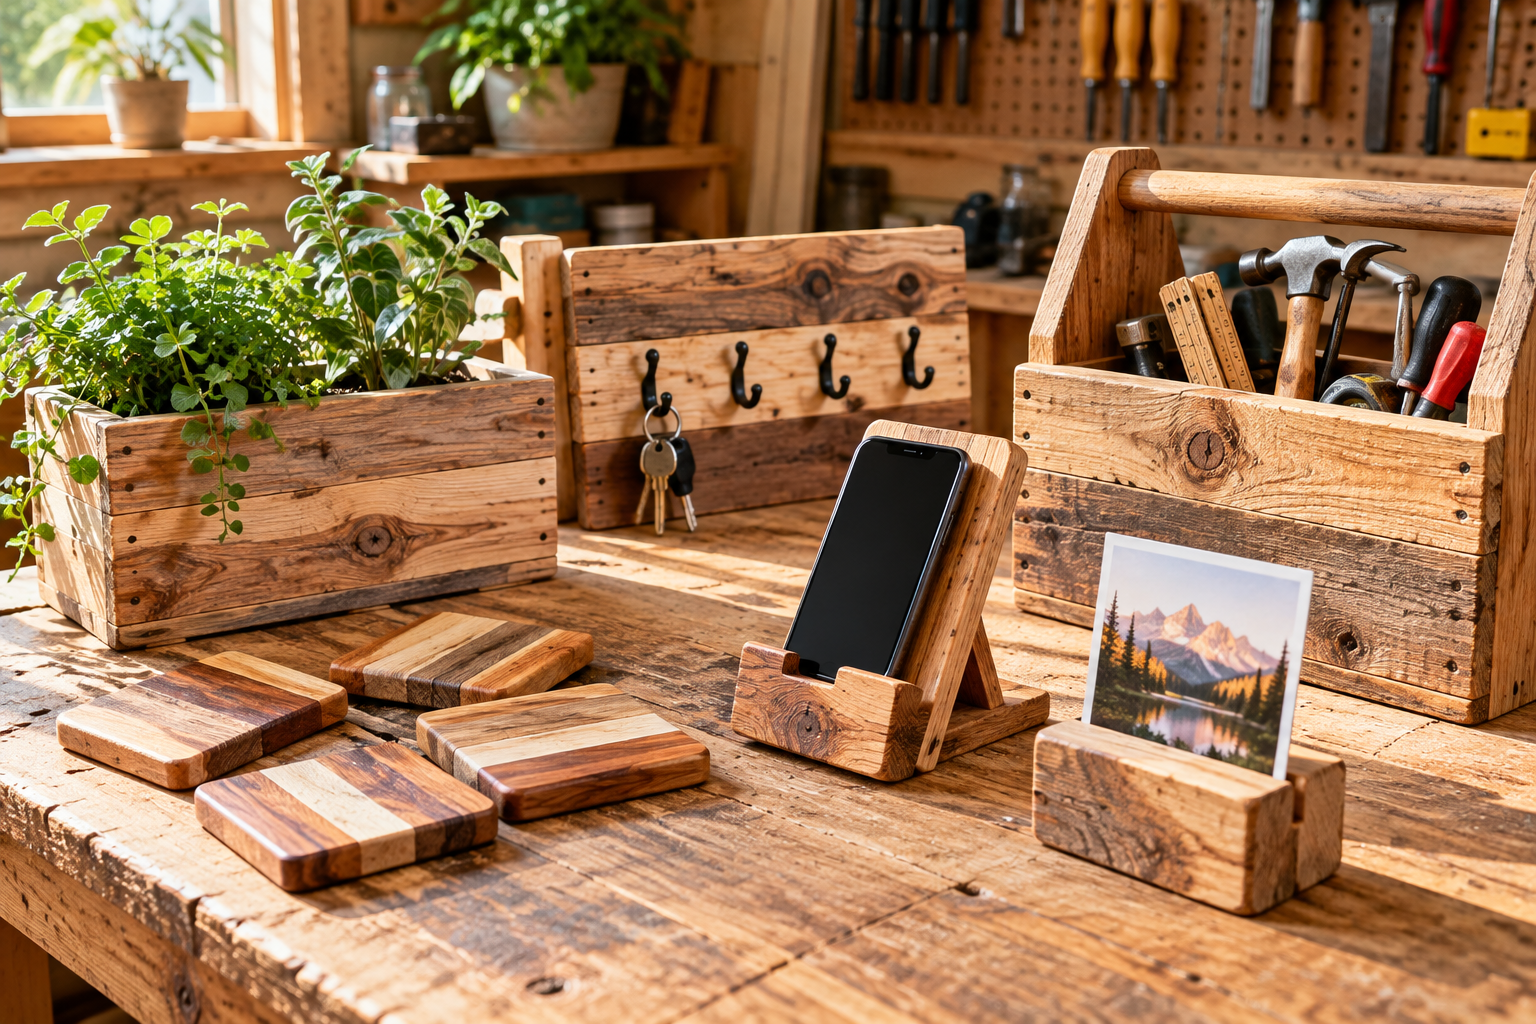
These 15 ideas are a starting point for small-batch woodworking products—not a promise that any item will sell. Start with two or three designs, make samples, calculate your costs, and see what local shoppers actually like. Project photos are AI-generated illustrations, not verified construction plans.
Jump to a project
Before you start
- Inspect boards for nails, cracks, loose knots, and treated or unknown coatings.
- Measure twice, secure workpieces with clamps, and follow tool manuals.
- Wear eye protection; manage dust and ventilation when sanding or finishing.
- For children, an adult should perform cutting, drilling, and other power-tool tasks.
Project ideas
1. Coaster sets
Small, easy-to-bundle pieces with plenty of room for creative wood-grain combinations.
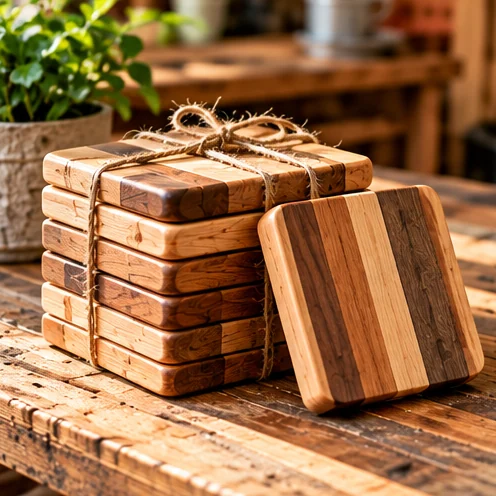
Straight, dry offcuts; saw; sanding block; suitable protective finish; optional cork pads
Cut four or six matching squares from stable stock. Ease the edges, sand both faces, and finish each side according to the product instructions. Add cork pads once the finish cures.
Offer sets of four or six and label wood species and care instructions.
2. Wall-mounted key racks
Useful entryway accessories that work in farmhouse or minimalist styles.
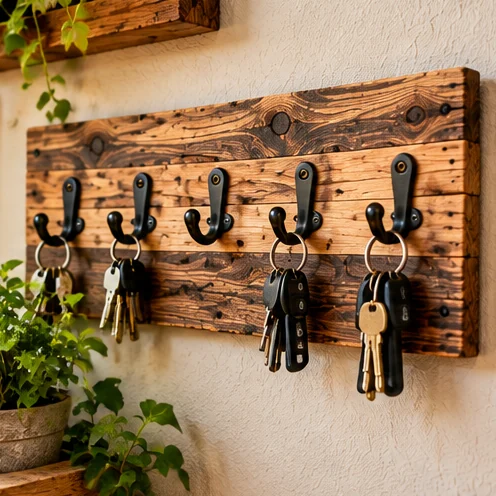
Dry board; hooks; drill; screws; appropriate wall-mounting hardware
Cut a backboard, sand it smooth, mark evenly spaced hook positions, predrill, and attach hooks. Provide mounting instructions suited to the intended wall and load.
Offer a few lengths and finishes; include clear installation guidance.
3. Small planter boxes
A good seasonal display item for herbs and small potted plants.
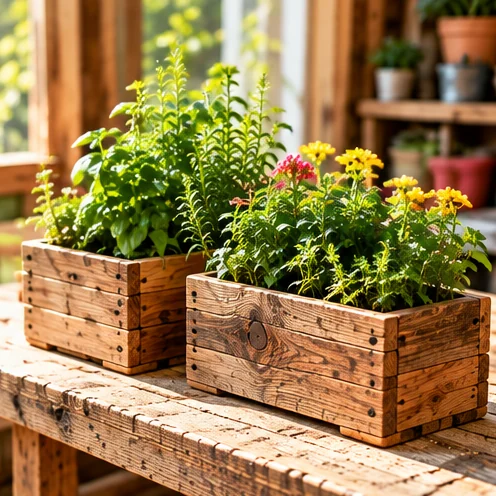
Untreated boards; screws; drill; clamps; nursery pot or liner
Build a four-sided sleeve sized around a removable pot, using pilot holes to reduce splitting. Keep the soil in a liner, allow drainage, and protect wood from prolonged moisture.
Sell as decorative sleeves and specify whether they are suitable for outdoor use.
4. Desk phone stands
Compact desk accessories with a useful everyday purpose.
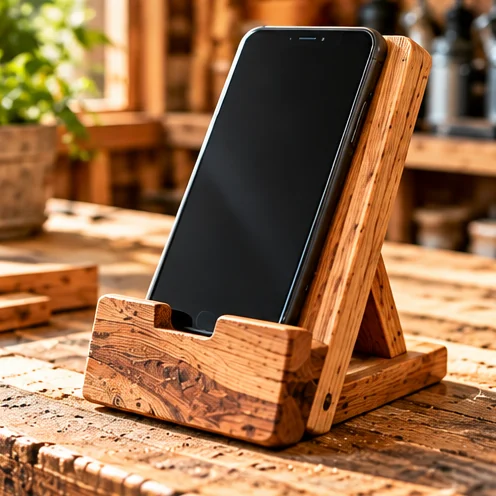
Stable hardwood offcut; saw; sandpaper; optional non-slip pads
Cut a broad base and a sloped support, dry-fit your own phone, then join the pieces securely. Check balance with the phone upright and sideways before finishing.
Display a phone in the stand so shoppers instantly understand its use.
5. Picture ledges
Narrow display shelves suited to lightweight framed photos.
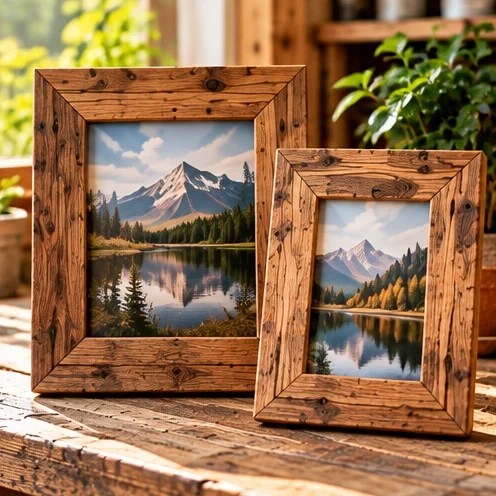
Straight boards; wood glue; screws; clamps; mounting hardware
Assemble a shallow base, back and front retaining lip; predrill and clamp before fastening. Sand and finish. Test the assembly and specify safe wall mounting.
Offer a few standard lengths and state that hardware and weight limits vary.
6. Recipe book holders
A practical kitchen gift for people who enjoy cooking.
Clean dry stock; hinges or fixed supports; saw; clamps
Build a slanted panel with a stable foot and a shallow lower lip. Round corners, check the angle with a heavy cookbook, and apply a finish suitable for kitchen environments.
Show it holding a real cookbook; avoid claiming it is food-contact safe.
7. Wooden candle trays
Simple decor pieces with broad styling possibilities.
Dry wood; sanding tools; stain or finish; felt pads
Cut a shallow tray with a stable flat base and smooth edges. Finish and add pads underneath. Use only as a decorative base for properly enclosed candles.
Include a safety note: never leave burning candles unattended.
8. Entryway mail organizers
An everyday storage solution that pairs well with key racks.
Thin boards; glue; screws; clamps; wall anchors
Make a shallow pocket with a back panel, front lip, and side spacers. Securely join the parts and smooth all edges. Match wall hardware to the mounting surface.
Offer a matching set with a key rack for a coordinated look.
9. Rustic photo holders
A small impulse-buy item that uses short attractive offcuts.
Small stable blocks; saw; sandpaper; optional metal photo clips
Shape and sand a block, then cut a narrow slot or attach a photo clip. Check that a sample card stands upright without tipping.
Package in pairs or sets; show them with sample photos.
10. Tabletop herb boxes
A decorative container for kitchen herbs and windowsills.
Untreated wood; screws; plastic planter liner; sandpaper
Make a shallow open-top box around a removable waterproof planter. Leave space for drainage and protect furniture with a tray underneath.
Photograph with real herbs and clearly note that plants are optional.
11. Simple serving boards
Attractive products, but food-use requirements need special attention.
Known food-safe wood; suitable cutting tools; sandpaper; manufacturer-approved finish
Use clean wood of a suitable species, shape and sand the board, and follow the finish maker’s exact food-contact and curing instructions. Avoid reclaimed boards with unknown treatments.
Give buyers written care guidance and do not make unverified food-safety claims.
12. Jewelry display stands
Small tabletop stands can showcase earrings or necklaces.
Straight offcuts; dowel; drill; glue; sanding supplies
Build a weighted base and a vertical support with short pegs or a crossbar. Smooth all edges and test that jewelry does not tip the stand.
Stage with sample jewelry and show approximate dimensions.
13. Small bookends
Simple geometric designs that suit desks and shelves.
Hardwood offcuts; wood glue; screws; clamps; felt pads
Join a base and upright at a right angle with secure mechanical fastening. Sand and add felt pads; test the pair against several heavy books.
Sell as matching pairs and show them holding books.
14. Holiday ornaments
Seasonal pieces are suitable for small offcuts and batch production.
Thin untreated wood; scroll saw or hand saw; sandpaper; string
Trace simple shapes, cut them using appropriate guarding and clamps, sand all edges, then drill a hanging hole and attach cord.
Plan inventory ahead of the season and avoid using protected logos or characters.
15. Personalized name signs
Custom designs can command attention but require careful order management.
Smooth boards; stencil or paint; hanging hardware; protective finish
Prepare and sand a board, transfer a custom name or phrase, apply paint or lettering, and finish after it dries. Confirm spelling with the customer before making the piece.
Set clear customization, proofing, turnaround, and refund terms.
Make your first build easier
Pick one project, sketch the dimensions, and prepare a short cut list before switching on any tools. Start with scrap pieces to test the finish. If an item will hold weight, use properly rated fasteners and verify its support.
Keep exploring
- 12 Easy Woodworking Projects for Beginners
- 10 Simple Woodworking Projects for Kids
- 17 DIY Wood Projects for Your Home
Image note: the workshop photograph is AI-generated and illustrative, not a photograph of the projects described.