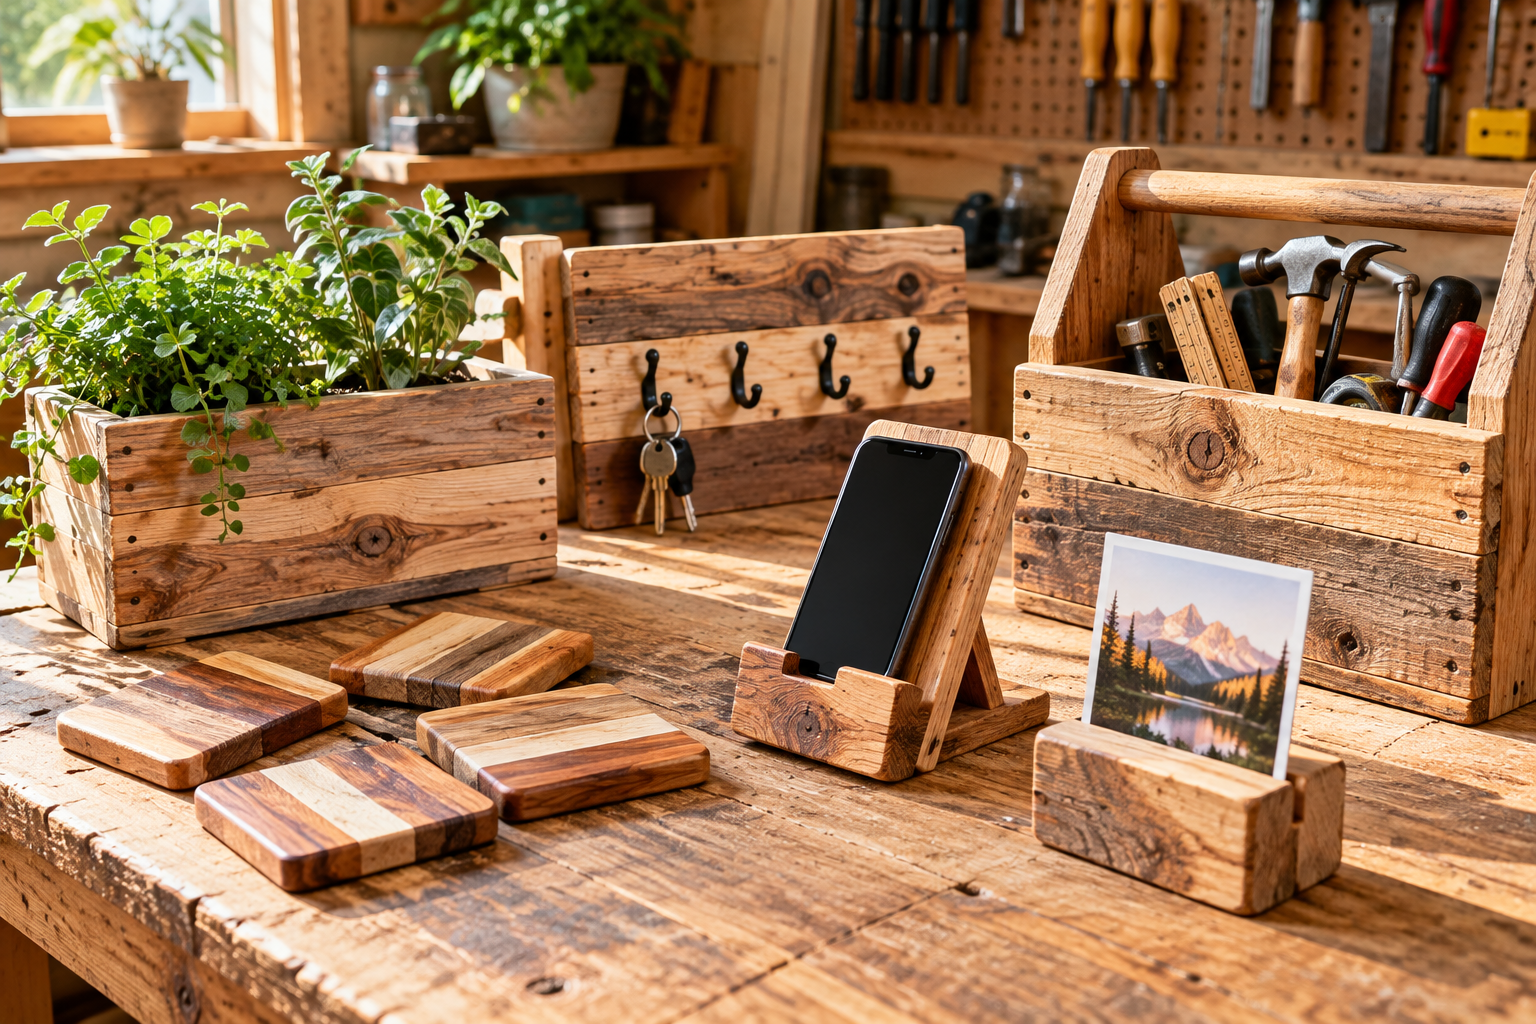
These projects are starting points, not engineered cut lists. Choose dimensions that suit your available lumber, tools, and skill level. Always verify load requirements and use appropriate protective equipment.
Before you start
- Inspect boards for nails, cracks, loose knots, and treated or unknown coatings.
- Measure twice, secure workpieces with clamps, and follow tool manuals.
- Wear eye protection; manage dust and ventilation when sanding or finishing.
- For children, an adult should perform cutting, drilling, and other power-tool tasks.
Project ideas
1. Coaster set
Materials: Scrap hardwood or softwood, sandpaper, optional cork pads, a protective finish.
How to make it: Cut four matching squares from a clean board, ease their edges with sandpaper, then apply a water-resistant finish following its directions. Add cork pads underneath to protect furniture.
Helpful tip: Make a matching set and test it under a cold glass before gifting.
2. Phone stand
Materials: Small board, saw, sandpaper, wood glue.
How to make it: Make a wide stable base and a tilted back support; attach a short front lip to stop the phone sliding. Dry-fit with your actual phone before gluing.
Helpful tip: Leave clearance for a charging cable and avoid a steep angle.
3. Photo holder
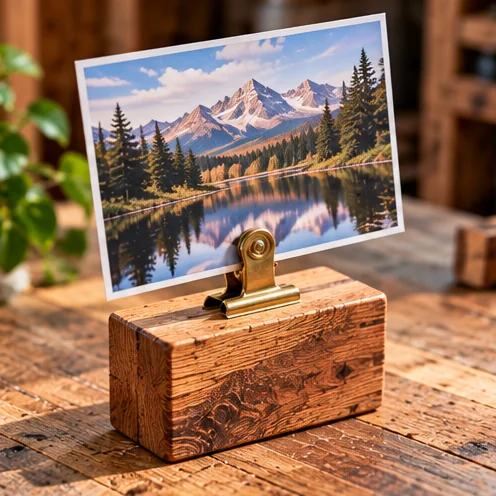
Materials: Short wood block, small metal photo clip, screw or adhesive, sandpaper.
How to make it: Cut and sand a stable rectangular base. Attach a small spring clip on top using suitable hardware or adhesive, then insert a favorite printed photo.
Helpful tip: Choose a weighted base so a tall photo will not tip it.
4. Key hook board
Materials: Short board, two to four hooks, screws, wall anchors.
How to make it: Sand and finish a straight board, mark evenly spaced hook locations, drill pilot holes, and attach the hooks. Mount to a wall stud or suitable rated anchors.
Helpful tip: Check that hooks will clear hanging key rings.
5. Pencil cup
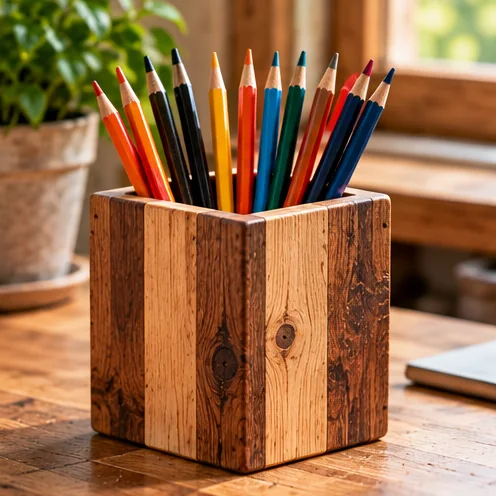
Materials: Four narrow side pieces, a base, wood glue, clamps.
How to make it: Cut four matching walls and a bottom. Dry-fit the box, glue and clamp square, and sand every interior edge so pencils will not snag.
Helpful tip: A slightly wider base makes the holder less likely to tip.
6. Plant riser
Materials: Short top board, four sturdy legs or two side supports, screws.
How to make it: Make a low rectangular platform, secure the supports underneath, and test it on a level surface before setting a pot on top.
Helpful tip: Use a waterproof saucer to keep moisture away from wood.
7. Desk tray
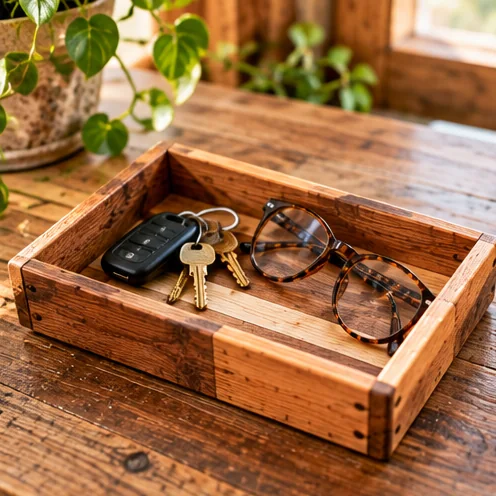
Materials: Thin base panel, four low strips, wood glue, clamps.
How to make it: Cut a shallow rectangular base and miter or butt-joint four low sides. Glue and clamp the sides, then sand the corners and finish the tray.
Helpful tip: Size it for keys, glasses, or a wallet rather than heavy objects.
8. Bookends
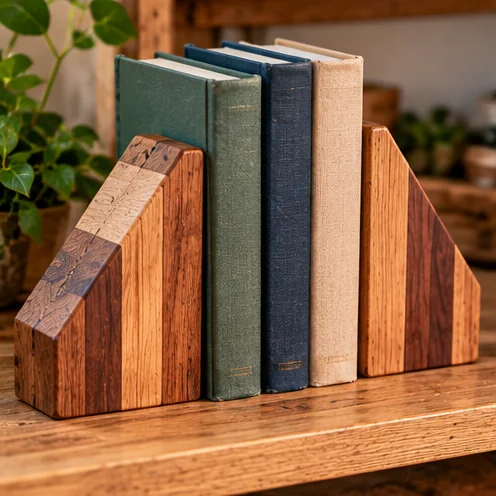
Materials: Two thick blocks or two L-shaped assemblies, glue, felt pads.
How to make it: Cut two matching solid blocks with flat bottoms, or glue each vertical panel to a horizontal foot. Keep both pieces square and apply felt to their bases.
Helpful tip: Heavy hardwood blocks are more stable against taller books.
9. Wall peg rail
Materials: Straight board, wooden pegs, drill, appropriate wall fasteners.
How to make it: Lay out evenly spaced peg holes and drill at the angle specified for your pegs. Glue pegs securely, finish the board, and mount it into studs or rated anchors.
Helpful tip: Limit the load to what the wood and wall fasteners can safely support.
10. Small candle platform
Materials: Small square of wood, sandpaper, heat-safe surface protection.
How to make it: Cut a low square platform, round its edges, and sand it smooth. Finish only with a product suited to the intended use and follow candle safety guidance.
Helpful tip: Never place a lit candle directly on combustible wood; use a suitable noncombustible holder.
11. Napkin holder
Materials: Two upright sides, base, glue, clamps.
How to make it: Cut a flat base and two identical uprights. Glue them square to the base with enough clearance for a stack of folded napkins.
Helpful tip: Test the spacing with the napkins you actually use.
12. Drawer divider
Materials: Thin plywood strips, measuring tape, sandpaper.
How to make it: Measure the inside dimensions of a drawer, then cut dividers to fit without forcing them. Use a removable interlocking notch arrangement if you want flexibility.
Helpful tip: Sand every edge so the drawer lining and stored items do not catch.
13. Garden markers
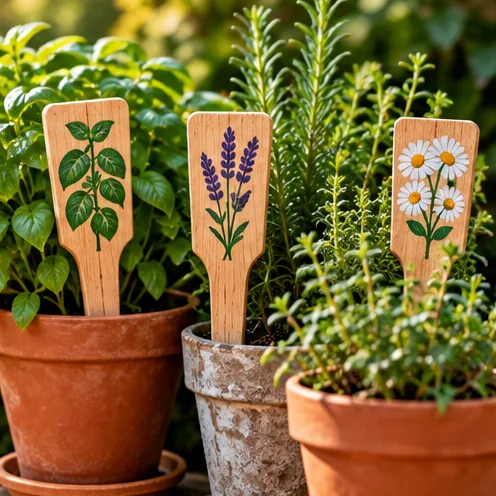
Materials: Thin wood strips, sandpaper, exterior paint or marker.
How to make it: Cut slim stakes with rounded tops and pointed bottoms, sand smooth, and label each one with plant names or decorative motifs. Seal for outdoor use.
Helpful tip: Use untreated wood and allow the finish to cure before putting markers near herbs.
14. Small sign
Materials: Small board, sandpaper, paint, hanging hardware.
How to make it: Cut a simple sign blank, sand the corners, and paint or stencil a short message. Attach a hanger appropriate to the sign weight.
Helpful tip: Practice lettering on paper before painting the board.
15. Recipe card stand
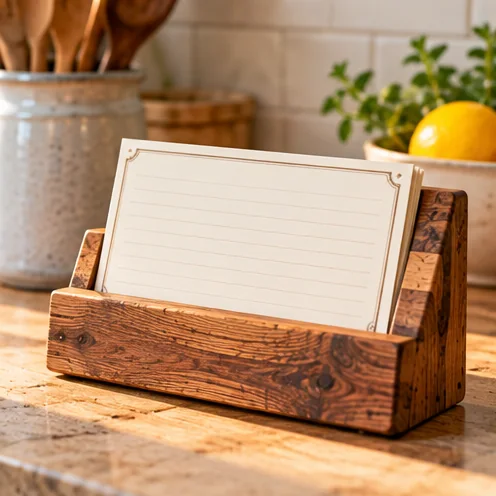
Materials: Small base board, back support, front retaining strip, glue.
How to make it: Cut a stable base, add a slanted support, and attach a short front ledge to hold recipe cards. Test with several cards before final assembly.
Helpful tip: Keep the holder away from stovetop heat and splashes.
Make your first build easier
Pick one project, sketch the dimensions, and prepare a short cut list before switching on any tools. Start with scrap pieces to test the finish. If an item will hold weight, use properly rated fasteners and verify its support.
Keep exploring
- 12 DIY Outdoor Woodworking Projects
- 15 DIY Woodworking Gifts People Will Love
- 11 Pallet Wood Projects for Rustic Home Decor
Image note: the workshop photograph is AI-generated and illustrative, not a photograph of the projects described.