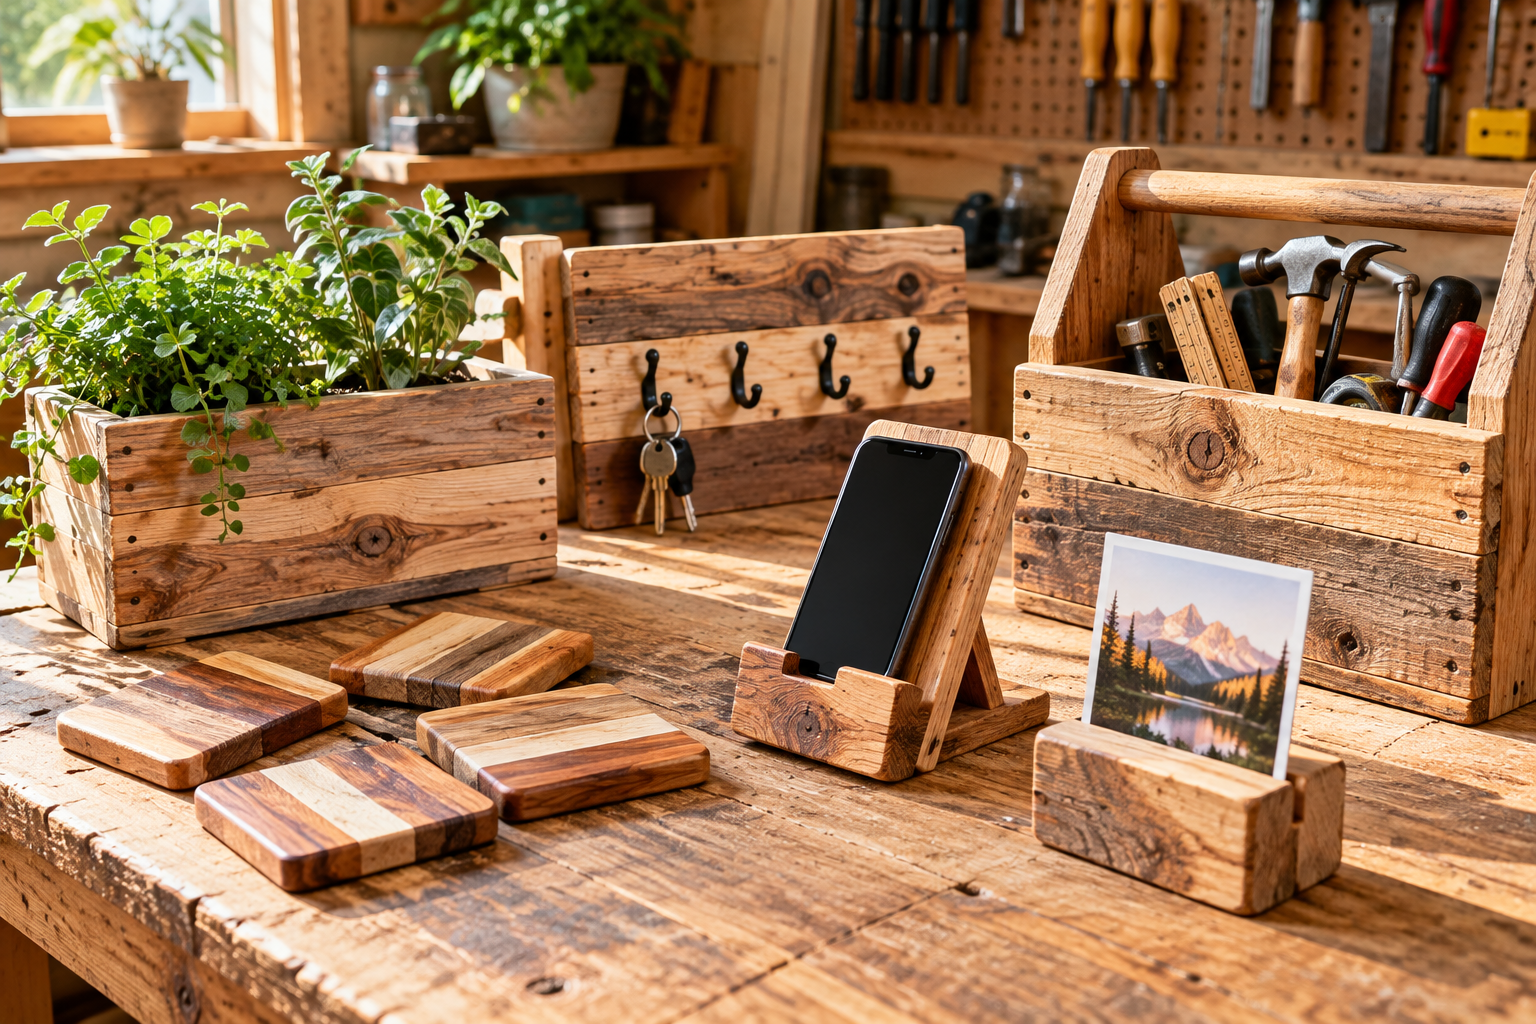
Pallet wood can give ordinary organizers and wall decor a wonderfully lived-in look. The key is choosing sound, clean boards and using each one where its strength and condition make sense. These projects are concept guides, not tested plans or engineering specifications.
Choose pallet wood carefully
- Check the stamp: an IPPC mark with HT indicates heat treatment, but does not establish that a pallet is free from spills or other contamination. Avoid MB (methyl bromide) markings and any pallet with unknown provenance.
- Reject suspect wood: skip boards with chemical odors, oily stains, visible mold, rot, or signs of spills. For kitchen, food-contact, and children's items, choose new lumber with known history instead.
- Remove hardware: pull nails and staples, then inspect with a metal detector before cutting or planing. Wear gloves when handling rough boards and eye protection during disassembly.
- Prepare safely: work outdoors or with dust collection, use a suitable respirator when needed, and avoid sanding unknown coatings. Discard questionable wood rather than trying to make it safe with a finish.
11 rustic pallet wood project ideas
1. Rustic wall sign
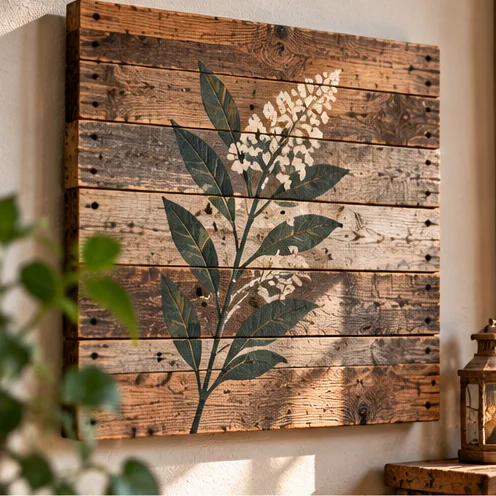
Materials and tools: Clean pallet boards, two rear battens, screws, paint or stencil, sanding tools.
How to make it: Choose boards with similar thickness. Cut them to a common length, arrange the faces for an appealing mix of grain, and fasten from the back through two battens. Sand the front thoroughly before adding a painted botanical motif or a simple phrase.
Helpful tip: Hang from hardware rated for the completed panel; avoid relying on thin pallet slats alone.
2. Coat hook rail
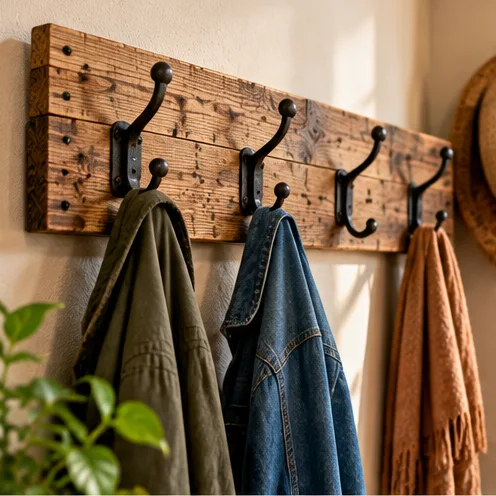
Materials and tools: Sound pallet board, coat hooks, drill, screws, stud finder, appropriate wall fasteners.
How to make it: Trim a straight board, ease its edges, and mark evenly spaced hooks. Predrill hook screws to prevent splitting. Locate studs and fasten the rail securely through the board into structural support.
Helpful tip: Coats and bags can be heavy; check both hook ratings and wall fastener capacity.
3. Picture ledge
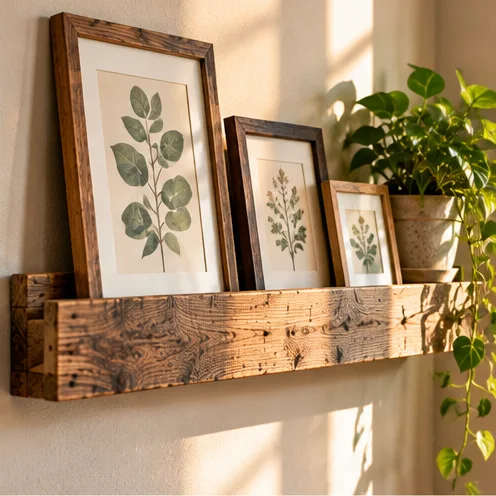
Materials and tools: Pallet boards, narrow front lip, wood glue, screws, level, stud-rated mounting hardware.
How to make it: Use one board as the horizontal shelf, a second as a rear mounting strip, and a narrow strip as the front stop. Predrill and assemble square, then attach level to studs or suitable rated anchors.
Helpful tip: Keep heavy or breakable framed art off shallow ledges unless the assembly is designed to support it.
4. Planter sleeve
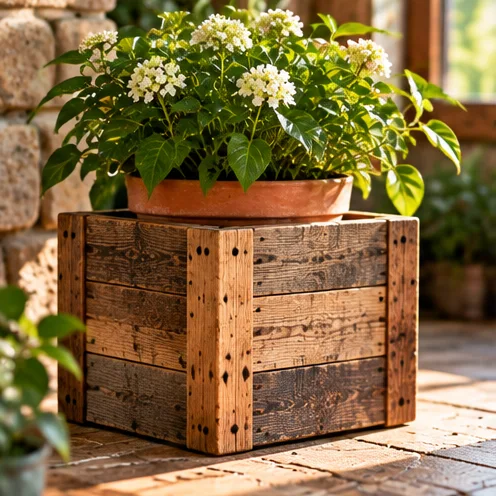
Materials and tools: Four dry pallet boards, corner cleats, screws, removable nursery pot and saucer.
How to make it: Measure the pot first and build a four-sided decorative sleeve slightly larger than its rim. Screw the boards into corner cleats, leaving access to remove the pot for watering.
Helpful tip: Keep the plant in its own container with drainage; do not let wet soil sit directly against reclaimed boards.
5. Photo display rail
Materials and tools: Narrow straight pallet board, small photo clips, drill, screws, mounting hardware.
How to make it: Cut a slim rail and sand it smooth, then space small clips or mini clothespins across the face. Predrill for clips and add hanging hardware to the back.
Helpful tip: Use removable photo clips instead of gluing keepsake photographs to wood.
6. Decorative wall panel
Materials and tools: Short pallet slats, plywood backing, wood glue, brad nails or screws, hanging hardware.
How to make it: Lay contrasting slats in a staggered pattern over a thin backing panel. Trim edges flush, attach each piece to the backing, and sand any protruding corners.
Helpful tip: Use this as decor only; decorative pallet paneling is not a structural wall surface.
7. Mail holder
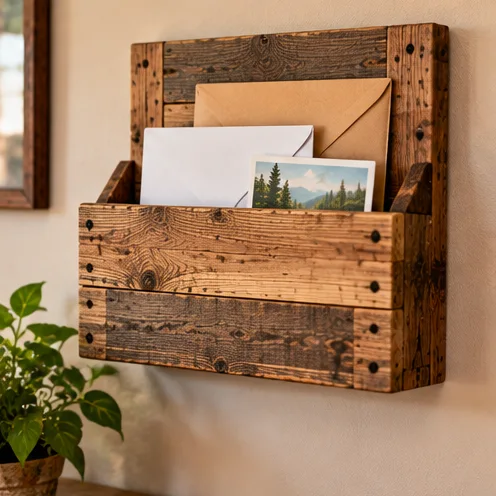
Materials and tools: Pallet boards, two short side pieces, narrow base, screws, sandpaper.
How to make it: Make a shallow open-top pocket by joining a backboard, front panel, bottom strip, and two side spacers. Leave enough clearance for envelopes and attach the holder securely at a convenient height.
Helpful tip: Round the top opening so mail and hands do not snag on rough edges.
8. Small tray
Materials and tools: Flat pallet slats, thin base panel, glue, clamps, short screws, optional handles.
How to make it: Join matching slats into a shallow tray bottom, then attach four low sides. Sand the inside corners and finish all surfaces according to the intended use.
Helpful tip: Use a separate food-safe liner for snacks; do not place unpackaged food on unknown reclaimed pallet wood.
9. Shelf brackets with reclaimed accents
Materials and tools: Structurally rated metal brackets, reclaimed accent boards, mounting screws, drill.
How to make it: Install load-rated brackets into suitable structural supports, then use thin pallet pieces as decorative covers or shelf facing. Keep the load carried by the engineered brackets rather than old pallet slats.
Helpful tip: Do not substitute reclaimed pallet triangles for tested structural shelf supports.
10. Table centerpiece box
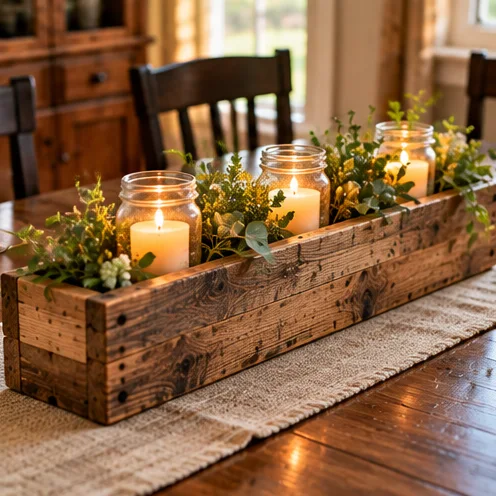
Materials and tools: Pallet slats, two end blocks, screws, removable glass jars or plant pots.
How to make it: Cut two long sides and two ends, assemble a narrow rectangular box, and add a simple base. Place removable jars or small pots inside for seasonal greenery.
Helpful tip: For candles, use battery-operated flameless lights; keep real flames away from wood and foliage.
11. Entryway organizer
Materials and tools: Pallet boards, hooks, small catchall shelf, screws, wall anchors.
How to make it: Build a short backboard with a shallow shelf near the top and hooks below. Predrill near board ends, check that the shelf is level, and attach the whole unit securely to the wall.
Helpful tip: Group keys and light accessories here; use stronger hardware and supports for heavier bags.
Finishing reclaimed wood
After inspecting and cleaning suitable boards, sand only as much as needed to remove splinters while retaining the weathered texture. Test your stain or finish on an offcut. For outdoor items, choose a finish rated for exterior exposure and plan for regular maintenance. Never assume a finish will make contaminated wood safe.
Ready for your next build?
Sketch your dimensions, make a cut list, and check that your mounting hardware suits the wall and load. If you want more plans to browse, see Ted’s Woodworking plans →
Keep exploring
Images are AI-generated illustrations of possible results, not photographs of tested builds.