10 Simple Woodworking Projects for Kids
A weekend workshop can teach measuring, patience and creativity. These ten approachable projects give kids something to be proud of, with adults handling the cutting, drilling and fastening.
Before you begin: safety first
- Adults do all sawing, drilling, routing and powered sanding. Children should only participate in tasks appropriate to their age and ability, under direct supervision.
- Use clean, untreated wood; check for splinters, nails and old paint or unknown coatings.
- Wear eye protection as appropriate, clamp workpieces and control sanding dust. Adults should follow tool instructions.
- Choose age-appropriate sizes and finishes. Avoid choking hazards, sharp hardware and unsecured small parts.
These are introductory project ideas, not tested toy plans or engineered cut lists. Adjust dimensions and construction to the child and intended use.
1Painted wood blocks
Smooth wooden blocks become colorful stacking and building toys.
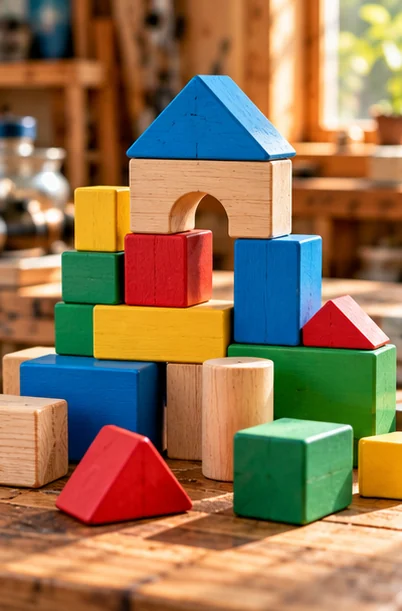
Materials: Untreated solid-wood offcuts or purchased unfinished blocks, sandpaper, child-appropriate paint.
How to make it: Have an adult cut blocks in several easy-to-grip sizes. Sand every edge and corner until smooth, then let children decorate with paint. Let the coating cure fully before use.
2Wooden picture frame
A simple keepsake frame for a favorite drawing or photograph.
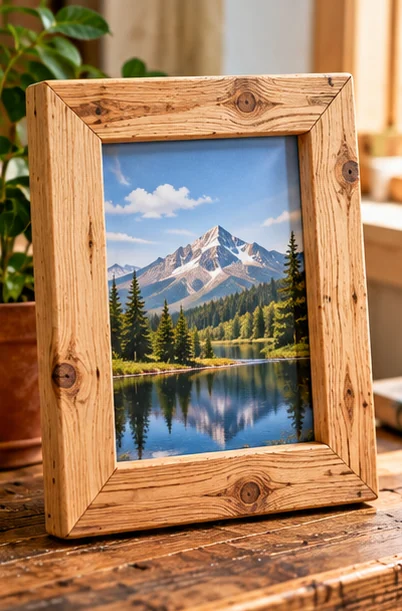
Materials: Four pre-cut wood strips, backing board, wood glue, clamps, sandpaper.
How to make it: Have an adult prepare the four frame pieces and backing. Children can sand the faces, dry-arrange the corners, and help apply glue while an adult clamps the assembly. Decorate after the glue cures.
3Simple bird feeder tray
A small feeder helps children observe backyard birds.
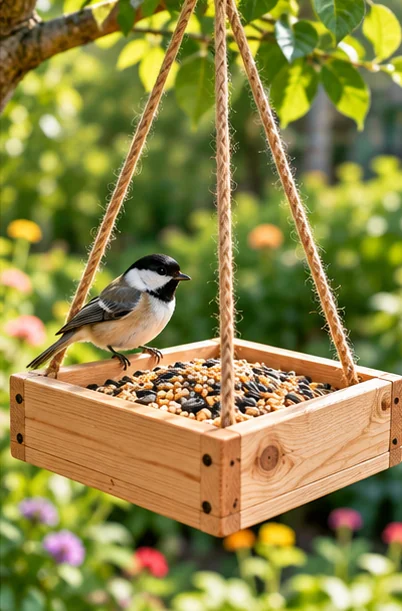
Materials: Pre-cut untreated boards, exterior screws, sandpaper, birdseed, hanging rope if needed.
How to make it: An adult assembles a shallow tray with low sides and drainage gaps or holes. Children can smooth accessible edges and choose a safe viewing location. Fill with appropriate birdseed and clean it regularly.
4Nameplate sign
A personalized sign for a bedroom, playroom, or reading nook.
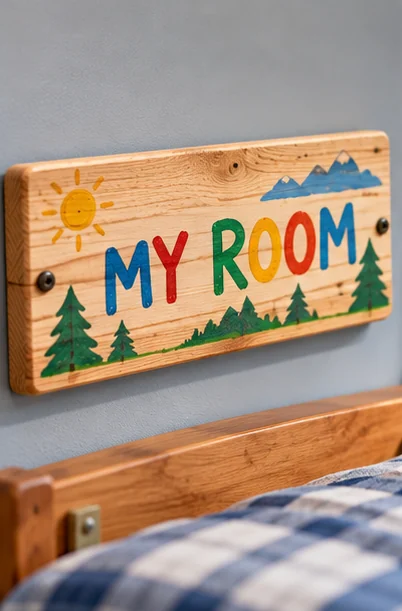
Materials: Smooth pre-cut board, sandpaper, pencils, paint, optional stencils.
How to make it: Sand a pre-cut board and sketch a name or short phrase in pencil. Paint the letters and add decorative patterns. Allow the paint to dry before an adult mounts the sign.
5Pencil holder
A tidy desk organizer made from a small wooden box.
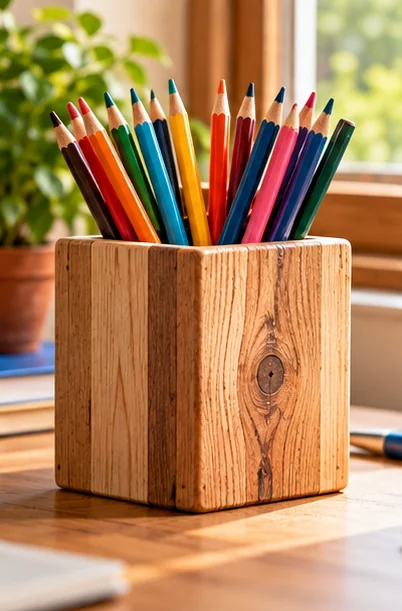
Materials: Pre-cut box sides and base, wood glue, clamps, sandpaper, optional paint.
How to make it: An adult cuts the panels to size. Children can sand the edges and help dry-fit the box. Apply wood glue to the joints, clamp until cured, then paint or decorate.
6Mini planter sleeve
A decorative wooden cover for a small potted plant.
Materials: Four pre-cut thin boards, glue, clamps, sandpaper, a removable plastic plant pot.
How to make it: Build a four-sided sleeve around a small existing plant pot. An adult prepares the boards; children sand, arrange, and decorate the sides before glue-up.
7Wooden tic-tac-toe board
Turn scrap wood into a reusable family game.
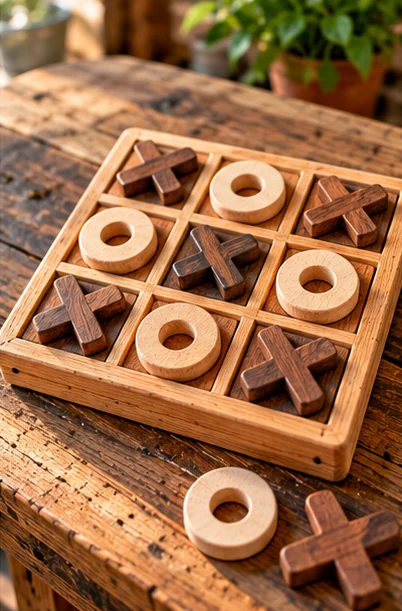
Materials: Flat sanded board, wood strips or paint for the grid, large wooden X and O pieces or painted stones.
How to make it: An adult prepares a flat board and any game pieces. Children draw a three-by-three grid, paint the squares, and decorate large game markers. Let everything dry before playing.
8Decorative bookends
Personalize a reading corner with two simple L-shaped supports.
Materials: Pre-cut wooden boards, wood glue, screws, sandpaper, paint.
How to make it: An adult assembles and fastens each L-shaped bookend. Children can sand the outside surfaces, paint patterns, and add a favorite book-themed design.
9Toy car silhouette
A simple decorative car shape that introduces basic design.
Materials: One pre-cut car-shaped wooden blank, sandpaper, paint, optional adult-installed wheels.
How to make it: Children sketch the car outline on paper; an adult transfers and cuts it from wood. Children sand and paint the shape after the cut edges have been checked.
10Memory photo stand
Display a family photo, drawing, or favorite postcard.
Materials: Pre-cut wooden base, adult-cut shallow slot or a securely installed clip, sandpaper, finish.
How to make it: An adult prepares a small stable wooden base and cuts a narrow display slot. Children sand the base and paint or decorate it. Slide in a lightweight paper photograph once dry.
More from the workshop
21 Scrap Wood Projects · Easy Woodworking Projects for Beginners · Woodworking Gift Ideas