← All woodworking articles / Woodworking for Profit
Woodworking for Profit
10 Woodworking Projects to Make and Sell from Home
Turn manageable weekend builds into a small, testable product line. These ten ideas favor repeatable cuts, straightforward finishes, and items that are easy to photograph and package.
Affiliate disclosure: This article contains affiliate links. If you purchase through one, we may earn a commission at no extra cost to you.
These are project concepts, not tested engineering plans or guaranteed sellers. Verify dimensions, load requirements, fasteners and finishing suitability for each intended use. Wear eye and hearing protection, clamp work securely and control dust.
Jump to a project
Ten small woodworking products to try
Coaster bundles
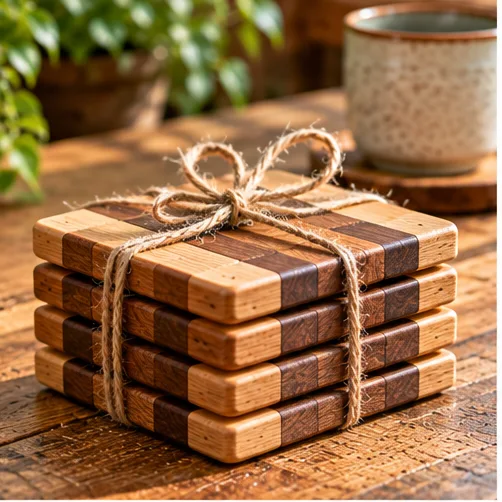
Materials: Hardwood offcuts, sandpaper, cork pads, finish, twine.
How to build: Mill or select stock to consistent thickness, cut matching squares, soften corners, sand both faces and seal against condensation. Add cork pads only after the finish cures.
Selling tip: Sell sets of four with a small care card; make matching batches to reduce setup time.
Personalized key holders
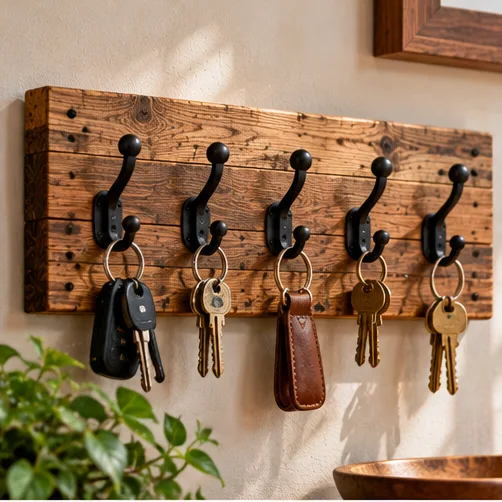
Materials: Dry board, hooks, screws, wall-mount hardware, lettering supplies.
How to build: Cut a backboard, sand its edges, mark equally spaced hook positions, predrill and install hooks. Use appropriate anchors or studs for mounting; add names or a short phrase before the final protective coat.
Selling tip: Offer two standard sizes and a limited selection of fonts to keep custom orders manageable.
Plant risers
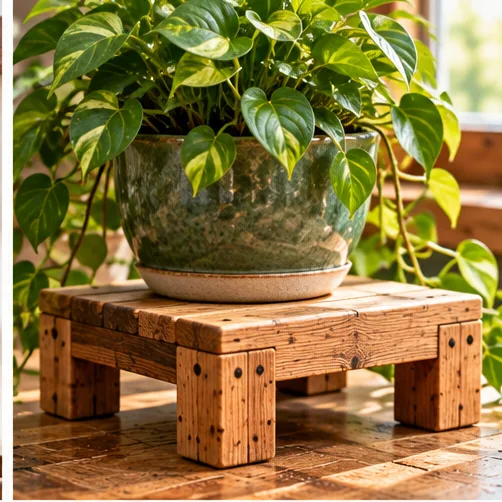
Materials: Straight dry lumber, wood glue, screws, finish.
How to build: Cut a top and short legs, dry-fit on a flat bench, then secure the legs using glue and appropriate fasteners. Check for wobble with the intended pot and protect the top from moisture.
Selling tip: Display with a lightweight empty pot; clearly state the size and intended weight limit.
Photo holders
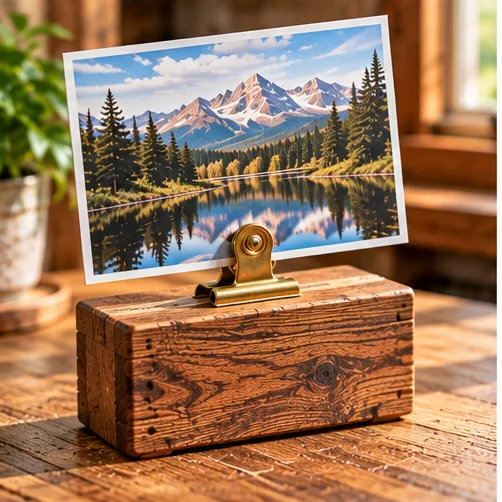
Materials: Small wood blocks, brass clips or wire, screws, sandpaper.
How to build: Cut stable blocks with flat bottoms, sand all sides, and attach a clip or bent wire that grips a photograph without sharp edges. Test several card thicknesses.
Selling tip: Photograph each holder with a sample card and offer a set of two or three.
Desk organizers
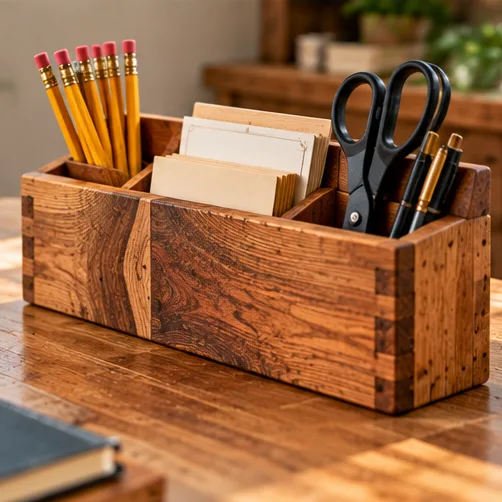
Materials: Small boards, glue, clamps, optional dividers.
How to build: Sketch the compartments around pens, cards and a phone. Cut a base and walls, glue and clamp the box square, then add dividers with enough clearance for the intended contents.
Selling tip: Keep a repeatable layout so each batch uses the same cut list.
Wooden signs
Materials: Smooth wood blanks, paint or vinyl lettering, hanging hardware.
How to build: Prepare and sand a flat panel, lay out the lettering before painting or applying vinyl, and finish with a compatible topcoat. Install hanging hardware suitable for the sign weight.
Selling tip: Show a small catalog of proven designs rather than taking unlimited custom requests.
Candle trays
Materials: Flat hardwood board, sandpaper, finish, optional felt feet.
How to build: Cut a shallow display tray or flat board, round the edges and finish all surfaces. Add feet to protect furniture. Keep candles in their own suitable heat-resistant containers, never directly against wood.
Selling tip: Market as a decorative display tray, not a fireproof candle holder.
Jewelry displays
Materials: Wood board, hooks or pegs, wall hardware, finish.
How to build: Space pegs for necklaces or bracelets, predrill to avoid splitting and sand every contact surface smooth. Verify wall mounting and avoid sharp metal edges.
Selling tip: Offer matching finishes and include a simple mounting instruction card.
Bookends
Materials: Thick stock or two boards per end, glue, screws, optional non-slip pads.
How to build: Build two matching L-shaped supports with square joints. Fasten the upright securely to the base, add non-slip pads, and test against a row of heavy books.
Selling tip: Sell as matched pairs; measure height and base depth for the product listing.
Small planter boxes
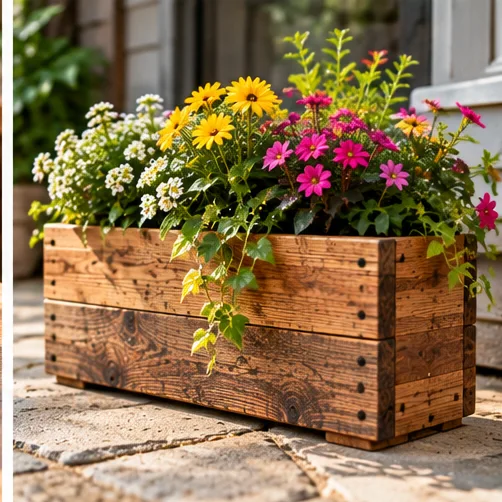
Materials: Outdoor-suitable boards, screws, liner or pot, exterior finish.
How to build: Build a square box around a removable nursery pot, leaving drainage and airflow. Predrill fastener holes, keep the bottom raised off wet surfaces and finish exterior faces appropriately.
Selling tip: Offer a clear inside dimension so customers know which pot fits.
Price for the whole business, not just the lumber
Before you make ten of anything, build one sample and time the complete process, including sanding, finishing, packing and photographing. This illustrative calculation is a starting point, not a market-price recommendation:
| Example cost for one item | Amount |
|---|---|
| Wood and hardware | $6 |
| Finish and packaging | $3 |
| Labor: 45 minutes at $20/hour | $15 |
| Allocated overhead and selling fees | $6 |
| Total estimated cost | $30 |
| Illustrative asking price | $42 |
| Remaining before taxes and unexpected costs | $12 |
Actual selling fees vary by venue and platform. A $42 listing does not guarantee a sale or a $12 profit. Adjust for returns, unsold stock, shipping, taxes and local demand.
Test demand before building inventory
Start with two or three sample products. Photograph them in consistent natural light, record exact dimensions and care instructions, and ask prospective buyers what they would change. Track which items attract real purchases rather than only compliments. Repeat the winners in small batches and refine your cut list as you go.
For any item that touches food, holds candles, carries weight, or mounts to a wall, verify the design and use a finish or hardware suitable for that application. Avoid describing a finish as food-safe or heatproof unless its manufacturer supports that specific use.
Keep exploring
15 Woodworking Projects That Sell at Craft Fairs · 21 Scrap Wood Projects · 15 Small Woodworking Projects